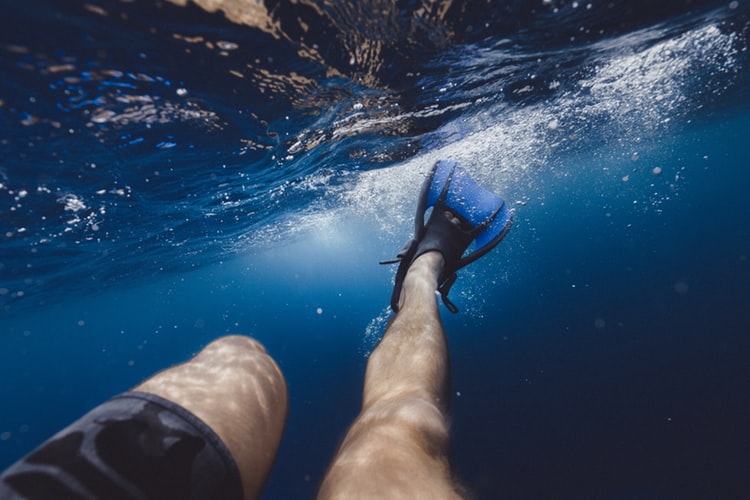
To excel in photography, you need in-depth knowledge about the photography genre that you want to pursue. It also requires constant practice and continuous learning. Amid all the photography types, underwater photography is one of the most challenging genres. Shooting in water can be challenging because of the intense water pressure (which gets incrementally stronger as you go deeper). It is why you need a durable waterproof case to protect your underwater camera. Most likely, most of the experts in underwater photography know that water can create optical challenges. For amateurs, this means that some subjects may look distorted because of the magnification. As you delve deeper into the water, the natural light becomes less available. With all of these challenges, you may need to learn the necessary knowledge and some helpful tips that you can apply to improve your underwater photography skills.
Practical Tips to Improve Your Skills in Underwater Photography
With action cameras, shooting underwater may look easy. However, it is not as easy as some people think. It requires specific skills and a proper understanding of the genre itself as well as the device that you will be using. Whatever camera you have, from action cams to digital point and shoot and DSLRs, there are some rules that you need to follow to capture the best shots. To help you improve your skills in underwater photography, try to follow these simple and useful tips:
- Get closer to the subject. As mentioned earlier, it is challenging to photograph underwater because there is less natural light. Also, water can rapidly absorb light, giving a dull blueish-greyish colour to the images. To improve the appearance of photos, you need to get as close as possible to the subject. Doing so can get rid of the amount of water between the camera and the subject. It results in a clearer, sharper, and even a more colourful photograph. Other than that, getting closer to the subject can reduce the amount of backscatter in the image. It refers to the tiny floating particles that are difficult to see with the naked eyes.
- Make use of the manual settings. Some photographers may find it easier to utilize the manual settings. However, many photography experts strongly suggest using the manual settings of your camera system. It allows you to control the colour, exposure, and sharpness of the images. With manual controls, you have the chance to be as creative as possible.
- Practice buoyancy control. Underwater photographers need to use proper breathing techniques because it will help you in capturing images. Mastering buoyancy control allows you to have steady hands when shooting. It is vital to create sharp photographs and focused images.
- Review your photos. Even though checking the images after shooting takes time, you have to consider it. Reviewing your photos is highly recommended because it allows you to see if there are less quality shots. Thus, you can repeat the process and shoot again to achieve the quality images that you desire.
- Shoot at a slight upward angle. To photograph more compelling images, try to shoot at a slight upward angle to the subject. This angle offers a breathtaking view of the object you are trying to capture. It also gives a contrast between the foreground and the background.
- Stay focused. When capturing marine life, it is essential to be patient and stay focused all the time. You may need to wait for the right moment to obtain a perfect shot of a moving fish or other sea creatures. There will be times that you need to dive or swim to other areas underwater to find an interesting subject. It requires concentration and attention to every detail.
- Stay in shallower water. As last-mentioned, getting deeper into the waters offer you less available light. As a beginner, it is best if you will stay in a shallower area. In this site, the sunlight penetrates the entire water column. There is less light that is absorbed by the water, giving you vibrant hues. The shallower area is an excellent place to start practicing composition and experimenting with your camera settings.
- Use a medium shutter speed. In every photography genre, shutter speed is one of the camera settings that you need to consider. For underwater photography, it is recommended to use medium shutter speed and match it with a high ISO. It will result in an image with ambient light instead of a blurred subject. Remember that using a higher shutter speed will provide less light. Although using lower shutter speed can offer more light, the subject will get blurred once captured.
- Use colour correction filters. When capturing a subject underwater, you will notice that the colours are different. To get the best hues, you may need to utilize colour correcting filters. It is a red filter that is attached to the front of your camera lens. Every underwater photographer needs to have this item because it helps in correcting the colour balance. The red filter is also useful in reducing backscatter. When using this filter, make sure to increase your camera’s exposure by 1 or 1.5 as it will compensate its density. Also, remember that the screen has no value when used at depths below 30 feet. It is because the orange, red, and yellow wavelengths disappear at this depth.
- Utilize post-processing software. No matter how good you are in underwater photography, there could be times when you need post-processing software (e.g. PhotoShop) to edit minimal flaws. Using editing software allows you to add filters and correct colours, improving the overall quality of your photographs.
It could be overwhelming if you are just starting in underwater photography. Like in other genres, there are several things to consider and techniques to learn for you to excel in this field. As a beginner, it is important to keep motivated and stay focused because underwater photography requires knowledge and skills. Remember that to be a great photographer, you need to be persistent in achieving underwater photography expertise.

I’m Kelly Hood! I blog about tech, how to use it, and what you should know. I love spending time with my family and sharing stories of the day with them.


